Adapted from an article by Avery Cunningham, from the ‘Colloidal Silver’ Facebook group.
A lot of people are not a DIY (Do It Yourself) type person, so I hope this will help you learn how make your own Colloidal Silver.
I have known people that did not know how to shop for ingredients or follow a recipe to feed themselves, and I have guided them on how to shop and cook their very first meal.
And then there are the people dealing with long term illnesses and medications that have ‘brain fog’ too… I have been there myself.
So, with that in mind, here is some extra help.The best way to learn how is to actually do it!
> Buy .999 pure silver – you will need 2 pieces minimum.
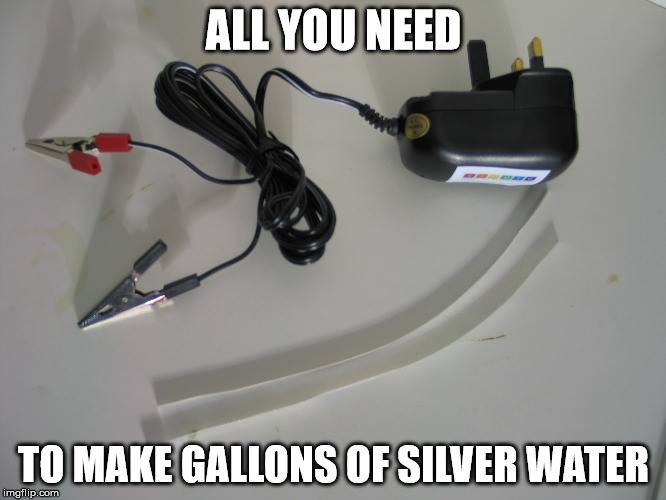
A couple of silver wires is enough to make many gallons of colloidal silver.
Many websites to choose from – via Google – for example only:
If you choose to use any other type of silver wire, make sure it is .999 pure. A lot of the available silver wire comes from China and purity is not reliable without an assay test certifying the purity! That is the whole point of making your own CS ~ so you know what you are drinking is pure!
> Choose a power supply
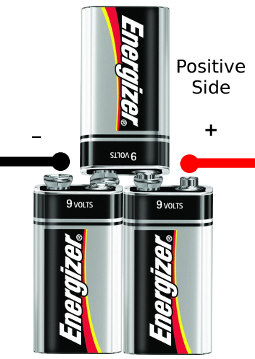
> 3 – 9 volt batteries ~ easy to get started with and/or to have on hand in an emergency/camping/survival situation when there is no electricity.
> You will need some copper wire. You can use a piece of an old extension cord or the cord cut from an old appliance that’s headed to the trash (a lamp, toaster, hair dryer, curling iron, etc.)
Stripping electrical wire:
> Add 4 alligator clips. Find these at a hobby or electronics supply store. (Or a head shop, also known as roach clips).
How to attach alligator clips:
* There are many types of adapters/wall warts and these can be salvaged from your junk drawer, thrift stores, flea markets or friends and neighbors ~ anyone that has an old laptop, printer etc. Stress is on the DC output instead of AC output for safety.
> A wall wart will save you money because 9 volt batteries can get expensive over a long period of time. You will cut the plug tip off and add 2 alligator clips as discussed with the 9 volt batteries above. Here is an example and an excellent link for a cheap 5 pack:

Size should be a minimum Output = 12 volt DC 1 amp (1000 mA) to a maximum Output = 30 volt DC 3 amp (3000 mA). These numbers will be on a sticker or made into the plastic housing.
> A car battery charger will work for making CS on the 2 amp (2000 mA) setting. You may already have one and they can be purchased locally at Walmart, Target and automotive stores. More expensive, but you will have it if your car battery goes dead, so a dual purpose purchase.
> Other items needed
> Steam Distilled Water is the best, otherwise, use the most pure water you can possibly get. In an emergency you have to work with what you have.
> Green 3M cleaning pads – these can be cut into smaller pieces with scissors and will last a long time.
> TDS (Total Dissolved Solids) or Hanna Meter to measure PPM (parts per million) ~ (fun to have, but not required).
> A laser pointer shined through your silver in the dark will give you a much better idea of what type of CS you have created.
> A glass jar to “cook” your silver in.
> Vodka to rinse your glass jar and silver (optional).
> A funnel and white coffee filters (optional).
> Storage jars (dark glass recycled wine bottles, beer bottles etc. washed and rinsed). I make my CS fresh as I need it, so I use the plastic gallon jug I emptied the distilled water from, wrapped in a black plastic bag, sitting on my counter for easy access. Plastic storage is OK for 30 days.
> Long term storage – use amber or other dark glass and store in a cool, dark place like a closet, cabinet or box away from light.
> Wash the jug and silver, and rinse with distilled/de-ionised water.
> Attach the alligator clips to the ends of both wires by clipping them to the side of the glass vessel or pushing the wires through a lid/holder and keep the connections out of the water.
> Pour distilled water into the jug filling to cover as much of the silver wire as possible.
> Make sure the two silver wires are not touching either other so you don’t short out your power supply.
> Attach one alligator clip to each piece of silver.
> Attach the black (negative) (-) alligator clip to the negative(-)battery terminal.
> Always attach the red (positive) (+) alligator clip to the positive (+) battery terminal LAST so you do not short out your power supply if other pieces accidentally touch. When finished, always remove the red (positive)(+)connection FIRST.
> If using a wall wart power supply or battery charger do not plug into the wall until you have finished attaching the silver and always unplug it from the wall before removing the alligator clips from the silver.
> Distilled/deionised water does not conduct electricity because it contains no minerals, so it may take a few hours to see the black (negative) (-) connection beginning to turn black and grow ‘hair.’ This ‘hair’ will increase the longer the power is connected and the ‘hair’ will fall to the bottom of your container. This is normal. You can strain your finished product through a white coffee filter before storing. Save the paste to use on cuts, warts, burns etc.
> The great salt debate – a few grains of salt dissolved in a teaspoon of water dumped into the water between the pieces of silver will jump start the cooking process and allow you to see “smoke” quickly.This tiny amount of salt will not harm you if you decide to use it.Silver reacts with salt to make silver chloride, a beneficial ingredient that some studies indicate is how the silver works, by reacting with the salt in our bodies.
> Use a couple of ounces of finished solution to jump start the next batch you make.
> The length of ‘cooking’ time will depend on the amount of water you are using and the strength of the electricity/amps. This is what also affects the color of the finished product.
> A cup or quart will take much less time than a gallon if you need to make a batch in a hurry.
> When finished, scrub your silver until it is shiny again (brightened) with the green scrubbing pad. Rinse, dry and store.
> You may need to scrub your silver again before starting your next batch or during a batch if it is not ‘smoking’ properly.
Congratulations, now you can choose to make and take your own inexpensive Colloidal Silver!
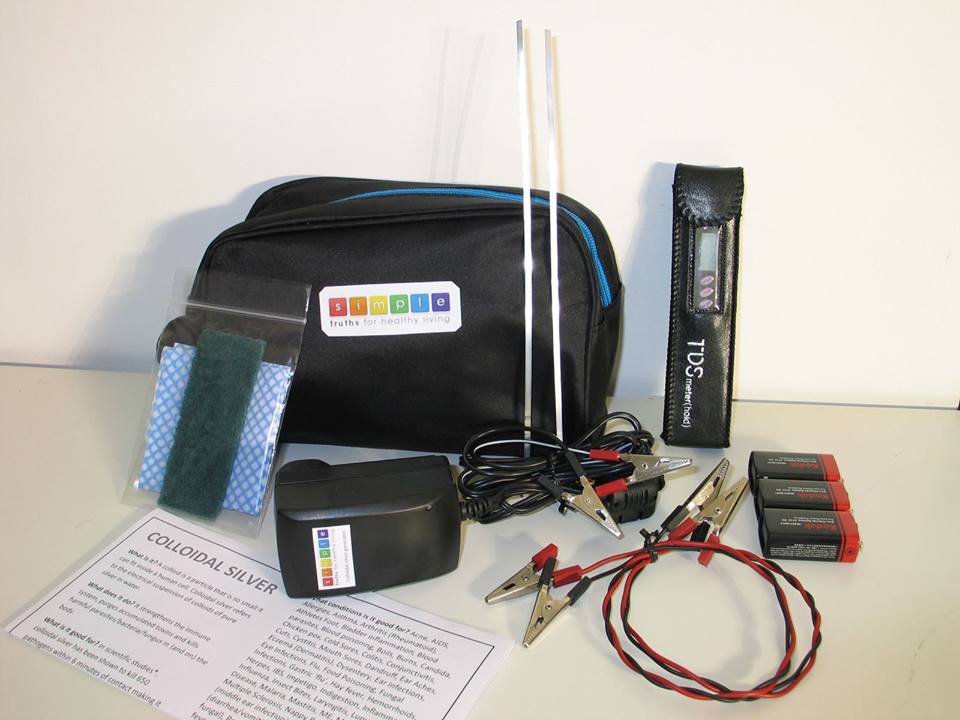
The Simple Truths Complete Generator Kit contains everything you need to make your own colloidal silver using the battery method or the plug-in method. You will save some money by sourcing your own components and building it yourself however you may prefer to order one from us (our margins are not large). Click here to order.
Click here to see the shopping list of components.
Click here to see all the posts regarding colloidal silver on this blog.
Click here for the Colloidal Silver Success Stories Facebook group.
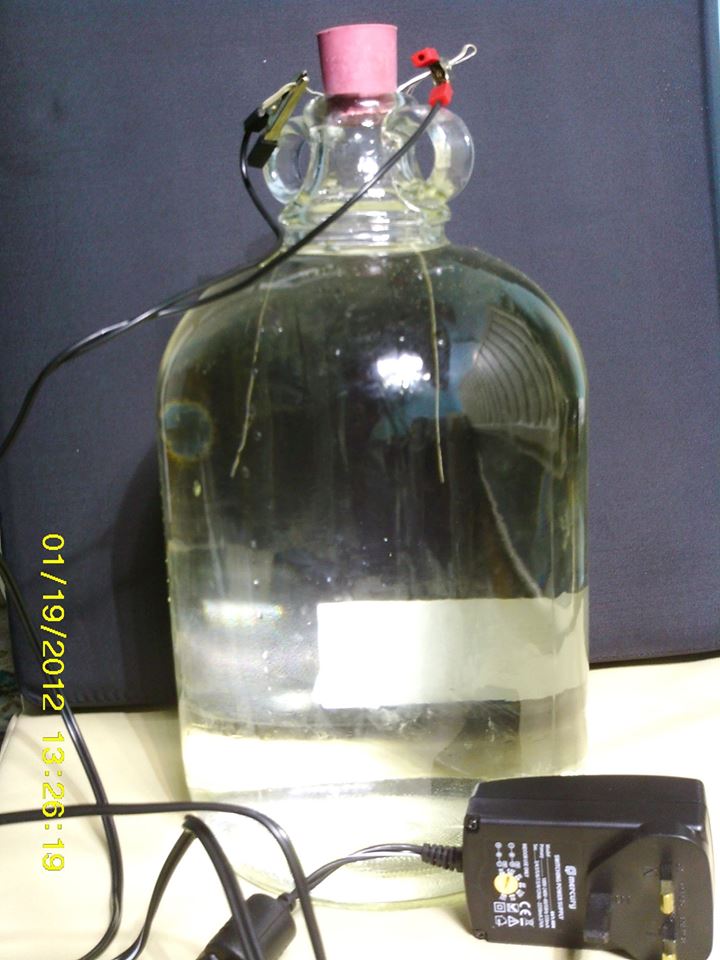
Making a gallon of colloidal silver using a 12VDC/1AMP wallwart/adapter.
Leave a Reply
You must be logged in to post a comment.